
Replacing your roof may feel like a daunting project, but with the right expectations, the process becomes much easier to manage. A roof replacement is not just about tearing off old shingles and putting on new ones—it involves planning, preparation, and careful installation. By understanding each stage of the process, you can minimize stress and ensure your home is protected for years to come.
Initial Inspection and Estimate
The roof replacement journey begins with a thorough inspection from a qualified roofing contractor. During this stage, the roofer examines your current roof for signs of damage, leaks, or structural issues that might affect installation. They’ll check the decking, flashing, ventilation, and even gutters to determine the full scope of work. After the inspection, you’ll receive a detailed estimate that outlines the materials, labor costs, and project timeline. This step is crucial because it helps you budget accordingly and ensures there are no surprises later in the process.
Choosing Materials and Scheduling
Once you’ve reviewed the estimate, the next step is choosing the right materials for your new roof. Homeowners often select from asphalt shingles, metal, wood shakes, or tile, depending on budget, climate, and desired curb appeal. Each option has its advantages—for example, asphalt shingles are cost-effective and versatile, while metal roofs offer superior longevity and energy efficiency. After choosing your materials, your contractor will schedule the installation. Timing often depends on weather conditions, as roofing work requires dry, safe conditions. This stage allows you to plan ahead and make any necessary accommodations.
Preparing Your Home and Yard
Preparation is an often-overlooked but very important part of roof replacement. Your contractor may ask you to move vehicles away from the driveway to allow space for work trucks and debris containers. Inside your home, it’s a good idea to cover items in your attic and take down fragile wall décor, since vibrations from roof work can cause movement. Outside, roofers typically cover landscaping, patios, and walkways with tarps to prevent damage from falling debris. These precautions help protect your property and minimize the mess that comes with such a large project.
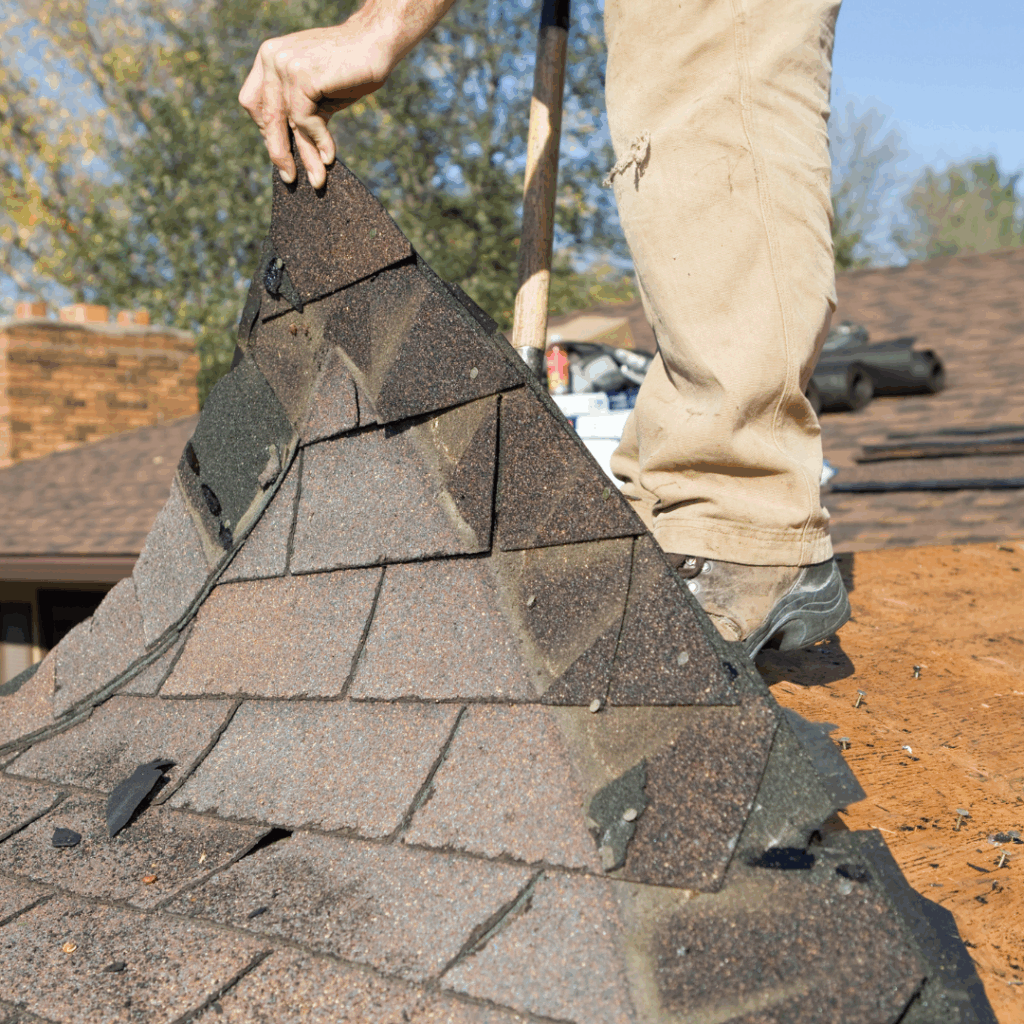
Removing the Old Roof
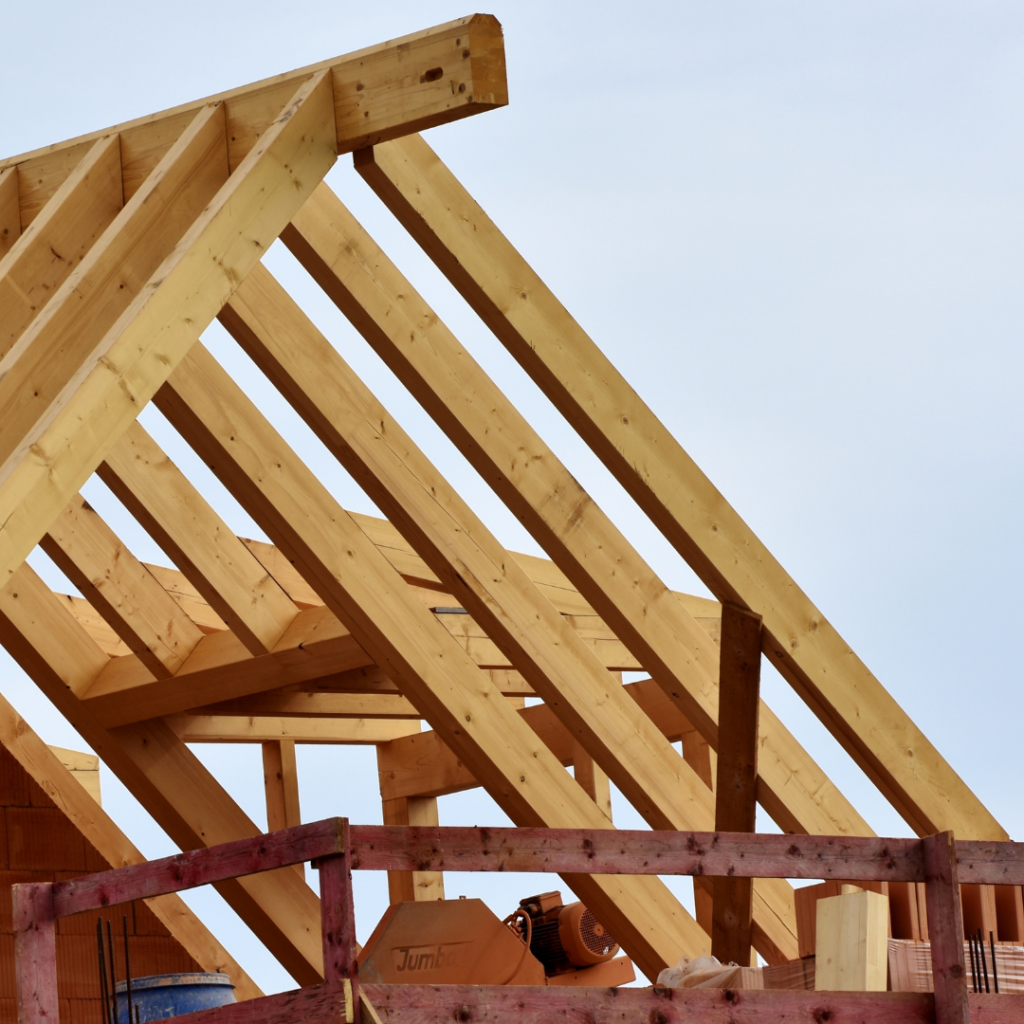
The first major step of the installation process is removing the old roofing system. This involves stripping off the shingles or other roofing materials, along with underlayment and flashing if necessary. The process can be noisy and disruptive, but it’s essential for ensuring the new roof has a solid foundation. Contractors will inspect the roof decking at this point, replacing any rotted or damaged wood before continuing. Old materials are gathered and disposed of in dumpsters, keeping the worksite as clean and safe as possible. While it may feel messy, this step is crucial for long-term durability.
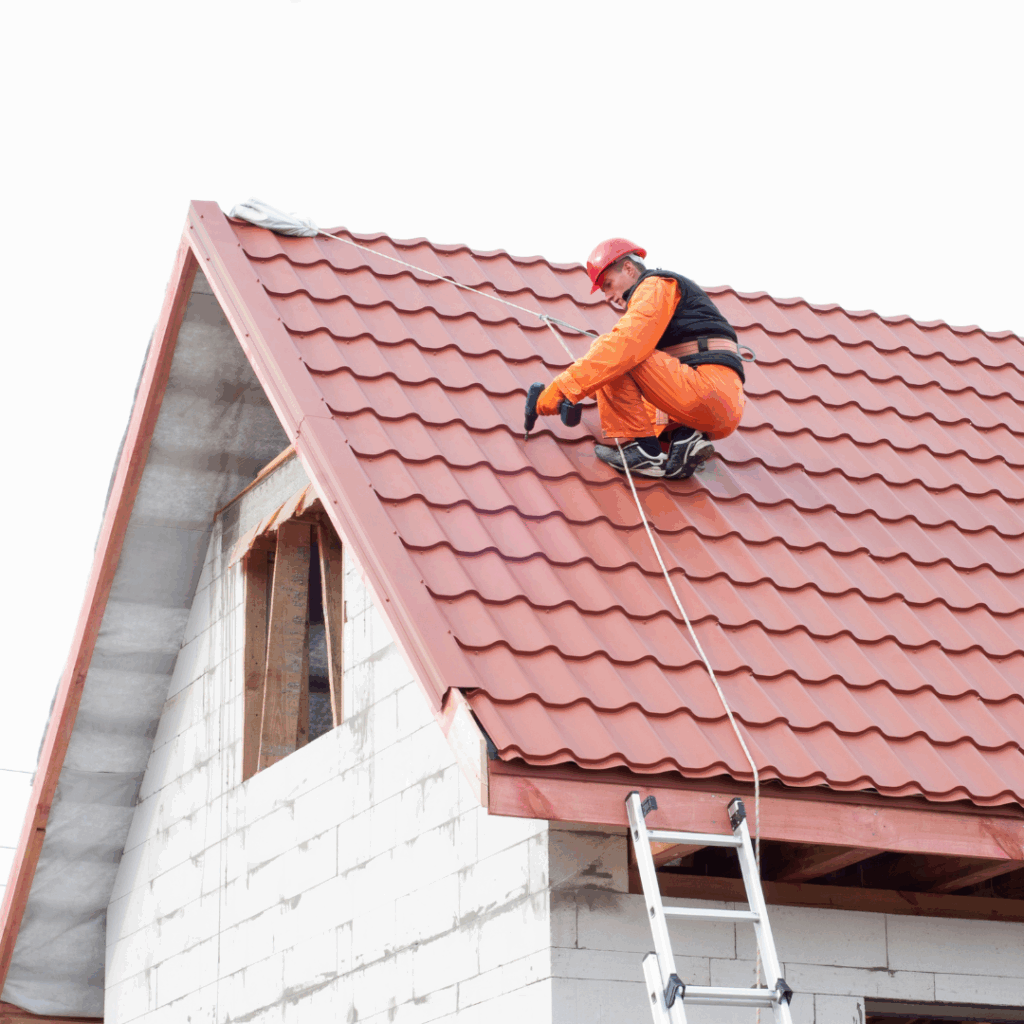
Installing the New Roof
With the old roof removed and the decking ready, it’s time to install the new roofing system. Contractors will first add underlayment to provide a protective barrier against moisture. Next, flashing is installed around chimneys, vents, and valleys to prevent leaks. Finally, your chosen roofing material—shingles, metal panels, or tiles—is carefully laid in place. Each layer of the system plays a vital role in protecting your home, regulating temperature, and ensuring proper ventilation. This stage is the heart of the project and usually takes the longest, but it is also the most rewarding as you begin to see your new roof come together.
Final Cleanup and Inspection
After installation, the roofing crew performs a comprehensive cleanup to remove nails, shingles, and other debris from your yard and driveway. Many contractors use magnetic sweepers to catch stray nails, making the space safe again for your family and pets. Once cleanup is complete, a final inspection takes place. This inspection ensures that the installation meets industry standards and that all components of your new roof are properly sealed and secured. Your contractor may also review warranty details with you, giving you confidence in the investment you’ve made. With this final step, you can rest assured that your home is protected and your roof will serve you for decades.

How Much Can New Windows Save on Energy Bills?
When homeowners consider improving energy efficiency, windows are often overlooked in favor of larger upgrades, such as…
What to Expect During a Roof Replacement
Replacing your roof may feel like a daunting project, but with the right expectations, the process becomes…
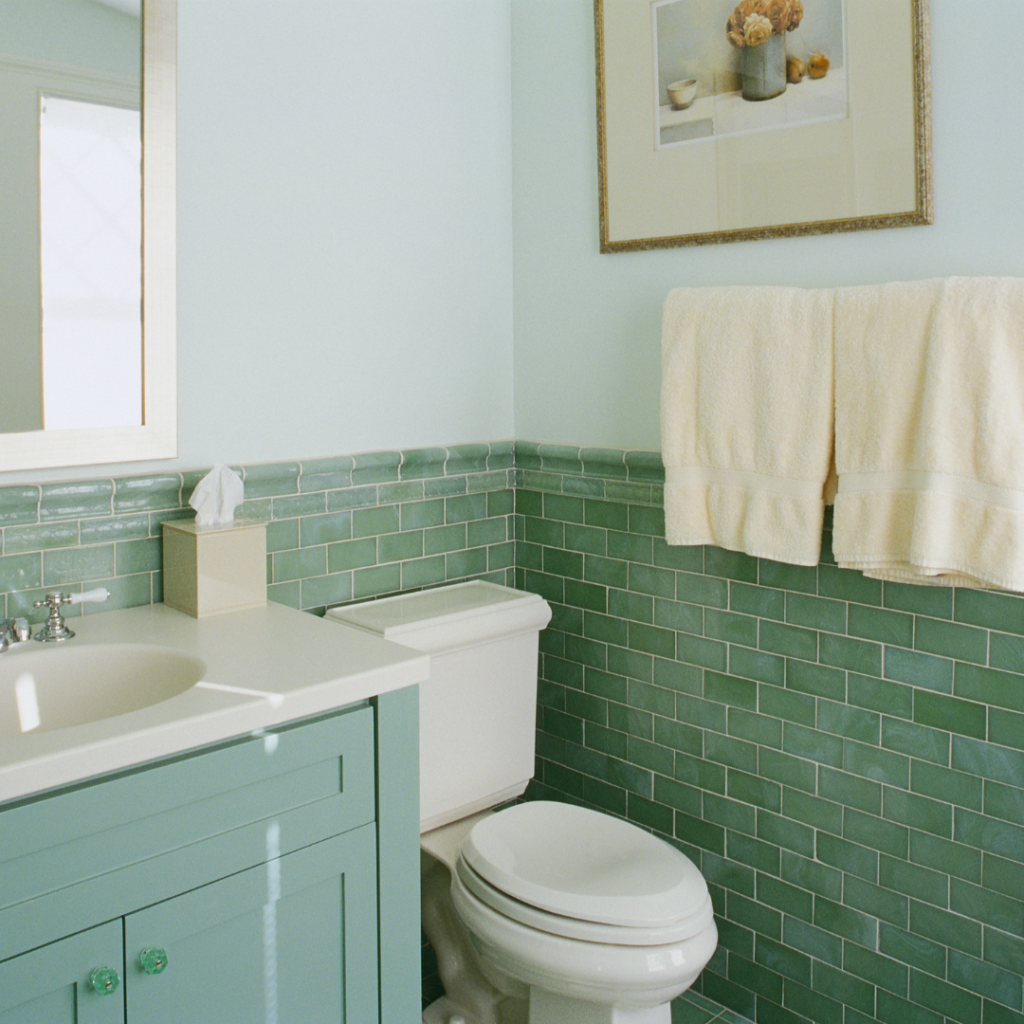
Bathroom Remodeling on a Budget: Where to Save and Where to Spend
Remodeling a bathroom is one of the best ways to update your home’s style, comfort, and resale…